In a routine histology or pathology laboratory workflow, it is easy to overlook the humble but essential platform that carries precious tissue sections through to diagnosis. You place a sample, stain it, mount it and view it under the microscope. Yet if the substrate fails, you risk artefacts, loss of material or compromised results. For pathologists and healthcare professionals working in microscopy and histology, it is vital to recognise how the correct slide selection and handling impact downstream outcomes, from staining integrity to digital scanning reliability.
In this discussion, we shall explore the role of the glass slide in microscopy and histology, review the major types and outline how to optimise their use in a laboratory setting.
Glass Slide: Definition and Core Role
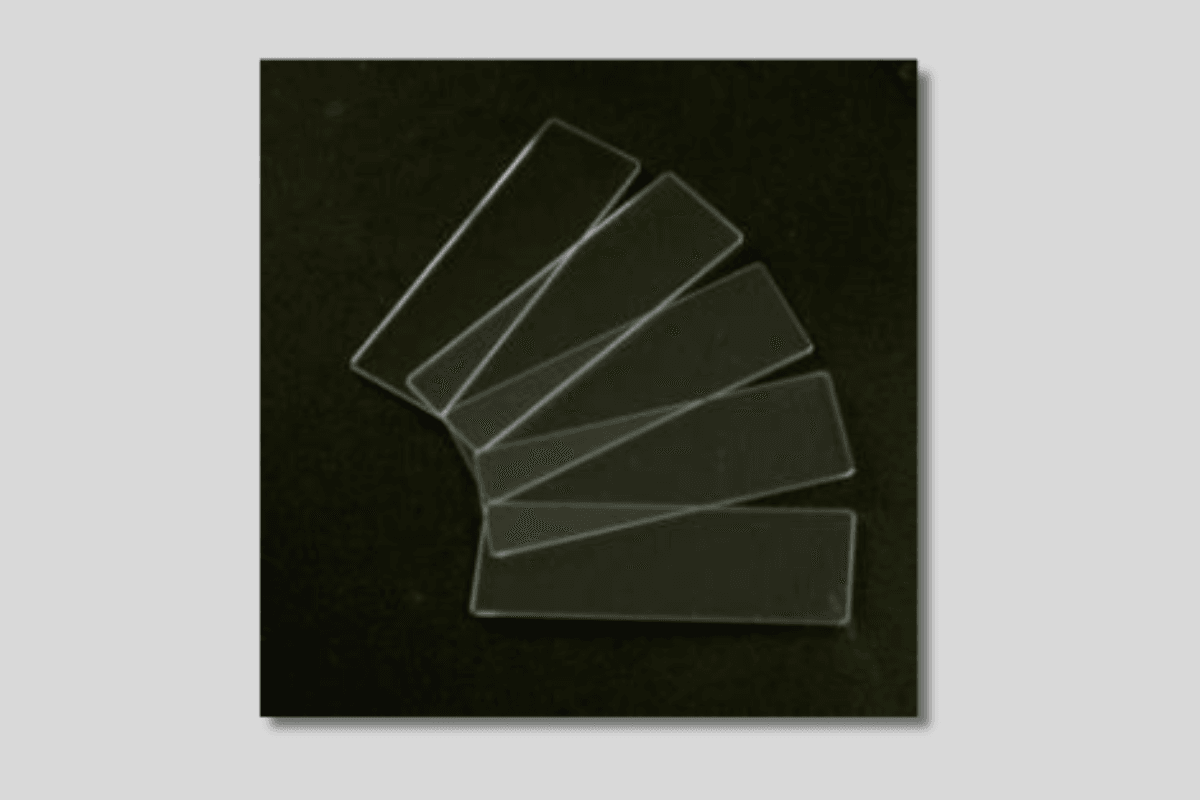
A glass slide is a thin, flat piece of glass, usually about 75 × 25 mm and approximately 1 mm thick, that serves as the base for mounting specimens for microscopic examination.
In a clinical or research histology context, the use of glass slides in laboratory routines encompasses several functions.
- It provides a rigid, optical-grade substrate for formalin-fixed paraffin-embedded (FFPE) or frozen tissue sections, cytology smears or immunohistochemistry studies.
- It facilitates consistent reagent penetration, handling through automated stainers and compatibility with coverslips or mounting media.
- It enables long-term storage and archiving of stained sections for retrospective review or digital scanning.
Given these roles, the proper selection of slide type, surface treatment and edge style can influence specimen retention, image clarity and workflow reliability.
Types of Glass Slides
| Type | Surface Property | Best Application | Adhesion Strength | Archival Stability |
|---|---|---|---|---|
| Plain | Smooth, untreated | Routine H&E | Moderate | High |
| Frosted | Frosted end for labelling | Manual ID or barcode use | Moderate | High |
| Charged | Positive or adhesive coating | IHC, ISH, frozen sections | High | High |
| Cavity | Concave depression | Wet mount or fluid observation | N/A | Low |
| Fluorescence-grade | Low-autofluorescence glass | Fluorescent microscopy | High | High |
Features of Glass Slides
When selecting slides for microscopy and histology applications, you must weigh several features.
Material & Optical Clarity: Premium slides use optical “water-white” glass or borosilicate glass with low iron content, minimal self-fluorescence and uniform thickness.
Surface Treatment: Plain slides have unmodified glass. Coated or charged slides have modified surfaces (e.g., positively charged, hydrophilic treatments) that improve tissue adhesion and reduce loss during processing.
Edge and Corner Style: Ground edges and 90° corners or clipped corners help with automated instrument compatibility and user safety.
Labelling End (frosted or Colour-Coded): Slides may have a frosted or colour-coded end for marking patient information or barcode labels.
Compatibility with Downstream Workflows: For slides destined to digital scanning, immunofluorescence or whole-slide imaging, the material, thickness and surface flatness matter for autofocus and image quality.
Being aware of these characteristics means you can align slide selection with application demands.
Limitations
| Type of Glass Slide | Limitation |
|---|---|
| Plain Slide | Tissue may detach during antigen retrieval or heat exposure; unsuitable for strong enzymatic digestion protocols. |
| Frosted-End Slide | Frosted zone reduces light transmission at the edge; writing may blur if exposed to xylene or alcohol during coverslipping. |
| Adhesive / Charged Slide | Coating may interfere with certain mounting media; higher procurement cost; surface ageing affects adhesion over time. |
| Cavity (Concave) Slide | Limited to temporary wet preparations; not suitable for permanent mounts or thick tissue sections. |
| Fluorescence / Speciality Slide | Expensive; requires careful cleaning to avoid autofluorescence; limited compatibility with general stains. |
| Prepared Slide | Non-reusable; may not represent patient-specific morphology; restricted to educational use. |
Role of Glass Slides in the Histology
Let us trace the role of the glass slide through a typical histology workflow and highlight decision points for pathologists and lab managers.
- Section preparation: After microtomy, you place a section onto the glass slide. The surface quality, flatness and cleanliness of the slide influence how the section lays down and adheres. Poor slide quality may trap air or lead to tissue folds, affecting microscope interpretation.
- Drying and fixation: The section may be baked or air-dried. When using coated slides, tissue remains adhered under subsequent processing. Uncoated slides may lose tissue during antigen retrieval or exposure to high-temperature buffers.
- Staining (H&E, IHC, ISH): The slide must tolerate the reagents, washes, cover-slipping and possible scanning steps. Coated slides maintain specimen integrity through rigorous protocols. Slides with chemically inert surfaces minimise interference with stain chemistry.
- Microscopy / digital scanning: The slide becomes the input to the microscope stage or whole-slide scanner. If the glass is of uniform thickness, flat, and with consistent optical clarity, then focus and image quality improve. Variability in slide material can impair autofocus or cause uneven illumination.
- Archiving and retrieval: Slides are stored for retrospective review, consultation or quality assurance. A slide made of chemically stable glass, with well-adhered specimen and minimal fading or artefact, ensures long-term usability. Glass slides provide archival stability that many plastics cannot match.
For pathologists, the downstream implications are real: specimen loss, artefacts, or scanning failure may delay diagnosis or raise repeat rates. The right glass slide supports an efficient and reliable workflow.
Best Practices
- Standardise the slide format (e.g., 25 × 75 mm) across your lab.
- Categorise slides by application.
- Ensure label area (frosted end) is used consistently for patient/sample information and barcode placement; avoid writing directly into the clear viewing area.
- Validate slide performance when switching vendors: Tissue retention, autofluorescence (for fluorescence applications), compatibility with automated equipment, and storage stability.
- Monitor storage conditions.
- Educate technicians: Proper handling (cleaning slides if re-used, preventing scratches, avoiding residue) improves result quality.
- For digital pathology workflows, ensure slides are flat and free of residue.
- Maintain inventory of speciality slides for the less-common but high-impact applications.
With these measures, your pathology team can maximise the value of the glass slide, reduce failures and improve throughput.
Conclusion
The glass slide remains a foundational instrument in microscopy and histology. It is an unassuming substrate that underpins sample presentation, staining integrity and image acquisition.
For pathologists and healthcare professionals, the thoughtful selection and proper use of glass slides support accurate diagnosis, efficient throughput and reliable archiving. By recognising the different types of slides and aligning them with laboratory workflows you can optimise outcomes, minimise viewpoint variation and support high-quality pathology services.
Suggested - Antibiotic Disc: Method, Interpretation, and Applications
Get Started at ₹1!
Try Flabs for a full month for just ₹1.
Follow us on